
Table of Contents
Homemade hash browns are super easy and deliciously healthy. They are light, refreshing, crispy outside, and soft inside. You can make this easily at home as long as you master a few essential tricks. Keep reading to learn how to make perfect hash browns every time!
5 Essential Tips & Tricks for perfect homemade hash browns:
1. Rinse the potato slices with cold water
After you have sliced the potatoes either using a knife or mandoline slicer, bring them in a strainer and quickly rinse them under cold water. Drain and then place them into a mixing bowl.
I have been using this mandoline slicer for years. It makes it so easy for me to slice the vegetables in professional-looking shapes.
There are two settings, thick slices like the french fries, or thin slices. Lately, I have been using the thick slice mode more. My kids love the thick slice version better and said to me, they taste like French fries.
The thick slices also stay fresher & crispy longer and are even good for the next day as a leftover. When cooking the thin slices, rinse a few times more, as the thin slices are more vulnerable to the oxidizing process. The starch within the potato reacts to the oxygen easier and quicker as they are more exposed to the air.
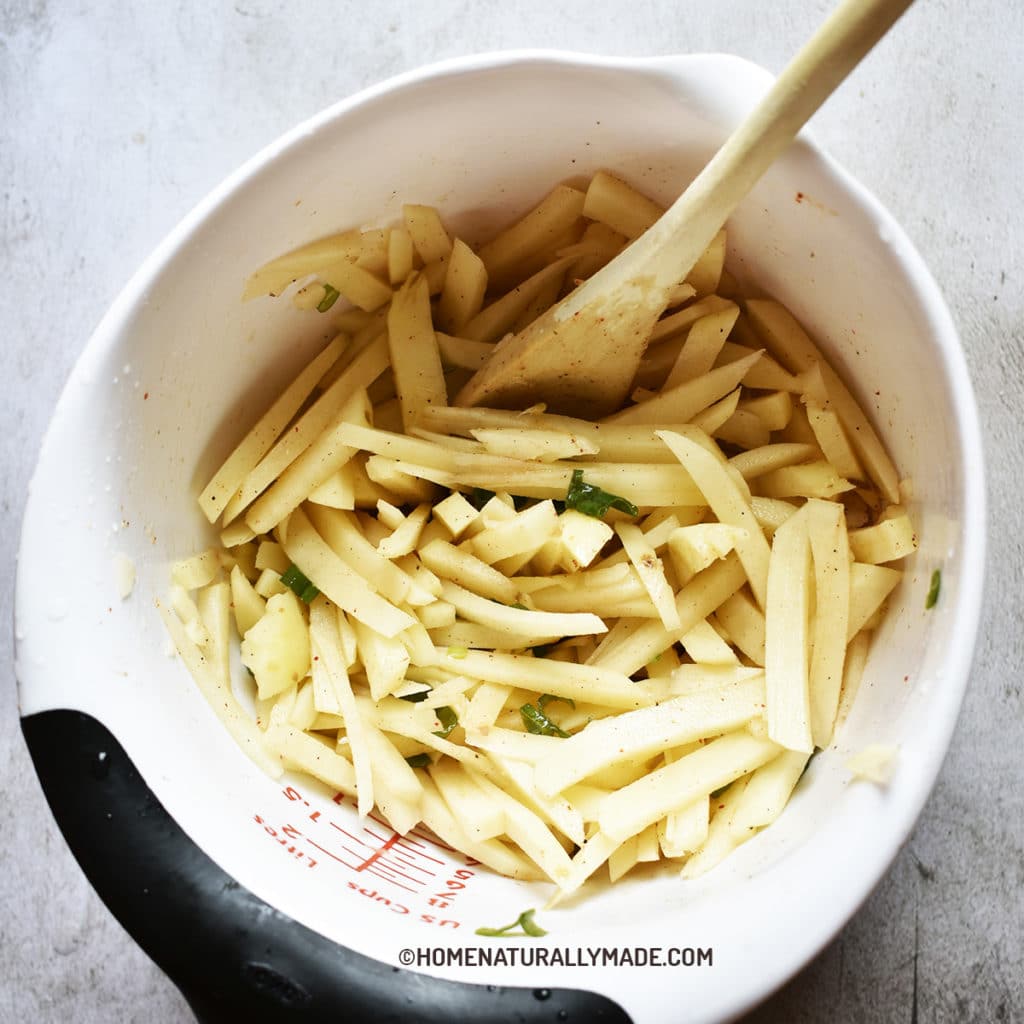
2. Mix the potato with seasonings, including the oil in a mixing bowl
This is one of the key takeaways after having made hash browns for my kids for the past 10 years. They love hash browns, which motivated me to make healthy & perfect hash browns, LOL.
Two benefits of doing so. For one, we can evenly season & oil the potato slices properly. This also prevents us from overly stirring potatoes during the cooking process while trying to even out the seasoning and oil. Potatoes need to be mostly left alone to bond with each other and caramelize during the cooking process.
3. A quality hard anodized frypan is essential
You will need a quality non-stick frypan to avoid potato slices sticking to the pan and helping caramelize.
I have tried different non-stick pans. For the healthy ones I tried, some do not perform the non-stick function. Others do not stand well to the high heat during the cooking process.
I finally came across this hard-anodized frypan set, and I am impressed by its performance. It is truly non-stick and holds up the heat very well.
This pan becomes an essential item for me to cook items such as Pancakes or Whole Wheat Crepes. When cooking food such as Kung Pao Chicken, Beef Stir-Fry, or Mongolian Beef, this pan helps me use way less oil and helps move food items around even in the presence of starch and brown the meat nicely. Arrowroot flour is my go-to healthy starch which plays an important role in the sauce for these well-liked dishes.
4. Maintain medium heat level and spread out potatoes into flat piles
Heat the pan first is one of my basic general cooking philosophies. I heat the pan for 1-2 minutes at medium heat level in all applicable recipes. The pan should be hot enough before adding oil for health and better cooking reasons.
Add potatoes slices from the mixing bowl to the pan and then spread out into flat piles, leaving some spaces in between. This will ensure even & better cooking. Spaces also make later flipping easier.
Use the medium heat level throughout the entire cooking process.
5. Save the seasoning water left in the mixing bowl
You may notice some water with seasonings left in the mixing bowl. For easier everyday cooking, I omitted to pat dry potatoes after rinsing. Therefore, the water is partly the residual water from rinsing potatoes and partly coming out of potatoes because of the salt reacting with potatoes. Save the seasoning water and add them to the pan along with potato slices.
Hash browns potatoes should be soft while not soggy, which is a fine line to balance. This extra bit of water will do the trick. This is especially true when if you like the thick-sliced version as we do. Adding the seasonings left behind back to the pan will also help with the ultimate flavor.
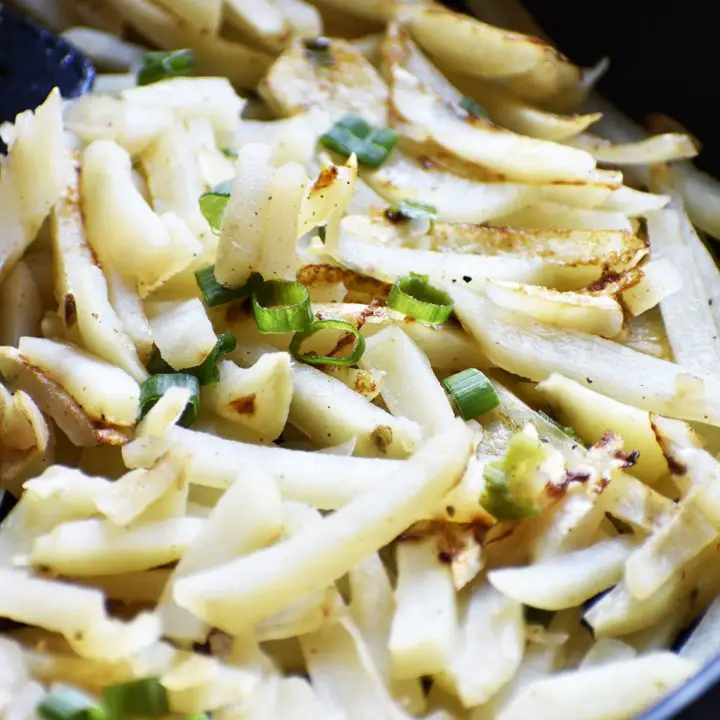
6. Cook with lid on for 6 minutes and lid off for 4 minutes
Cover the lid during the first part of cooking and then remove the lid and cook to caramelize the potatoes.
Cooking with a lid on helps keep the heat & moisture inside the pan, which helps cook the potato faster and better in a shorter time.
Cook the potatoes for 6 minutes with the lid on – 3 minutes on each side. Following that, remove the lid and cook for additional 4 minutes. Flip the hash browns in between.
Do you like homemade healthy & yummy breakfast? Check out other items that go very well with homemade hash browns:
Homemade Hash Browns Recipe
Homemade hash browns are simple, light, refreshing, and naturally delicious. Perfect for everyday breakfast or side dish.
Ingredients
- 2 baking potatoes, about 1.5 lb.
- 1 stem of green onion, chopped
- 1/4 tsp Himalayan pink salt, or to the taste
- 1/2 tsp freshly ground black pepper, or to the taste
- 1 tsp avocado oil
Instructions
- Wash potatoes thoroughly, and peel the skin using a peeler.
- Either manually or use a julienne slicer, slice the potatoes into either thick or thin julienne cut.
- Quickly rinse the potato slices under cold water, drain using a strainer and place them into a mixing bowl
- Add the salt, black pepper, oil, and half of the green onion into the mixing bowl. Use a pair of wooden or bamboo spatulas to mix well. The same way you would toss a salad.
- Turn the heat to medium, and heat a hard-anodized frying pan for 1 minute.
- Add the potato slices to the pan. Make it about 4 piles with some spaces in between. Use a mini spatula to remove the remaining ingredients including the liquid from the mixing bowl and add them to the pan.
- Cover the pan with a lid and cook for 3 minutes
- Remove the lid, flip the potato using a flexible slotted turner, cover the pan with a lid and cook for another 3 minutes
- Remove the lid, flip the potato again, leave the pan uncovered and cook for additional 4 minutes. Flip every 2 minutes.
- All done. Turn off the heat and sprinkle the rest of the green onions, and serve hot and fresh!
Notes
- You can leave the potato skin on if you'd like that way.
- For easier everyday cooking. I omitted pat dry potato slices after rinsing. There will be some water mixed with seasoning left in the mixing bowl. The water is also coming out of potatoes after we add salt. I found the leftover seasoning water is perfect for cooking to soften the potatoes, especially necessary for thick julienne cut potatoes, and additional flavor.
- After you have added seasoned potato slices into the pan, try not to stir or move them and simply let them cook for 3 minutes first.
- leftover from thick julienne cut hash browns is good for a couple of days in the refrigerator. Simply heat up a grill pan first and then add the leftover hash browns, gently press down and cook for 2 minutes and then flip and cook the other side for 1 or 2 minutes.
Recommended Products
As an Amazon Associate, I earn a small amount of commission from the qualifying purchases.
-
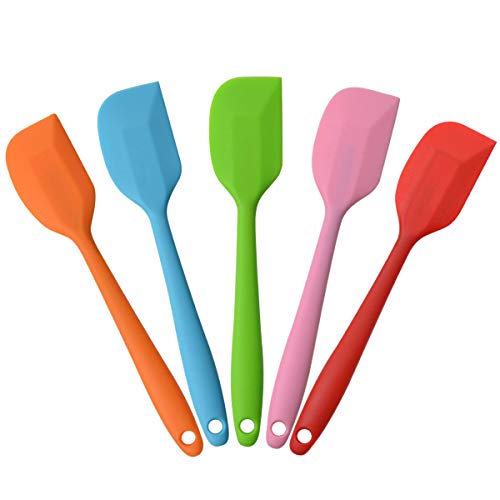
 Small Silicone Spatulas
 - Mandoline Slicer Stainless Steel Multifunctional
- Bamboo Spoons & Spatula
- Avocado Oil
- Soeos Whole Black Peppercorns 18OZ + Himalayan Salt 38oz + Grinders 2 Packs.
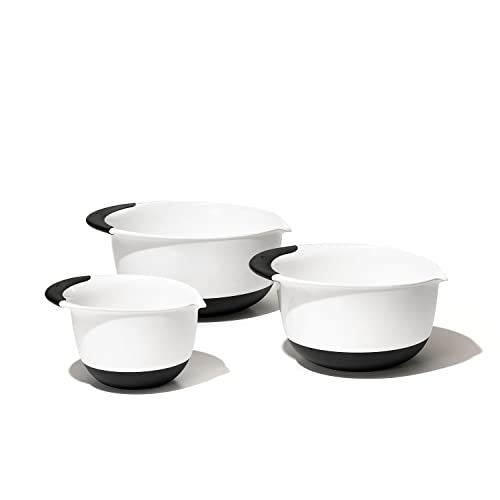
- OXO Good Grips 3- Piece Mixing Bowl Set
- KitchenAid Classic Slotted Turner, One Size, Black
- Hard Anodized Nonstick Fry Pan


Nutrition Information
Yield 4 Serving Size 1Amount Per Serving Calories 177Total Fat 1gSaturated Fat 0gTrans Fat 0gUnsaturated Fat 1gCholesterol 0mgSodium 121mgCarbohydrates 37gFiber 4gSugar 2gProtein 5g
Nutrition calculation is provided by Nutritionix to the best knowledge per ingredients description and isn't always accurate.