Table of Contents
Anti-aging facial lifting mask made at home using all-natural wholesome ingredients is easy, cheap, and effective. Today I am going to share with you a quick and easy facial mask I have been using for a while. It uses simple ingredients of pure healing clay, milk, and honey. Not only does it deep clean and hydrates the face, but it also does an amazing job of soothing and lifting the mature skin.
I jump-started DIY (do-it-yourself) personal care routine back in 2015 starting with homemade all-natural toothpaste, which I also turn to as an all-natural gentle facial exfoliation scrub. Read here for the story of why and how I started the journey.
I subsequently developed an anti-aging serum which became my nighttime facial routine. To address eczema triggered by the pregnancy of my older son, I also make my own body lotion. What’s more, lip balm made of beeswax, shea butter, and coconut oil does wonder to hydrate and nourish the lips.
So glad I did. Over the years, I am genuinely impressed by how mother nature’s wholesome ingredients can help improve our bodies. I am turning 51 this year, and my skin feels better than that in my 20s when I suffered dull skin with excessive oil and occasional acne breakouts.

How to do an anti-aging facial lifting routine at home that is easy, cheap, and effective?
For my anti-aging facial lifting routine at home, I first wash and clean the face first using sweet almond oil and milk respectively. By the way, this is my everyday face cleaning routine too.
Sweet almond oil, unrefined & cold pressed preferred, does a wonderful job removing the make-up and cleaning the face. Milk is very special in the way it transcends both water and oil. Not only it further cleans the skin, but it also dissolves any residual almond oil and nourishes the skin at the same time.
Secondly, I apply the homemade facial exfoliation scrub over the T-zone and gently massage in small circles using wet fingers. Usually, the T-zone area, especially the areas surrounding the nostrils requires more attention. That is where the black ends reside. After the gentle scrubbing, you will see blackheads rising to the surface, you can then use a beauty removal tool to gently push them out using the loop side of the tool.

Thirdly, I apply the clay mask generously over the face, leaving out the areas surrounding the eyes. Pay more attention to the area surrounding the mouth, where wrinkles and saggy skin are more visible.
To tackle and prevent the wrinkles and saggy skin around the mouth, apply extra layers of this amazing clay mask around the mouth, including the smile lines. By the way, you will notice the mask in this area dries faster than that in other areas, which indicates they are in need of more hydration and nutrients.
If you have fine wrinkles on your forehead and frown lines, then apply extra on those areas too.
How to make an anti-aging facial lifting mask?
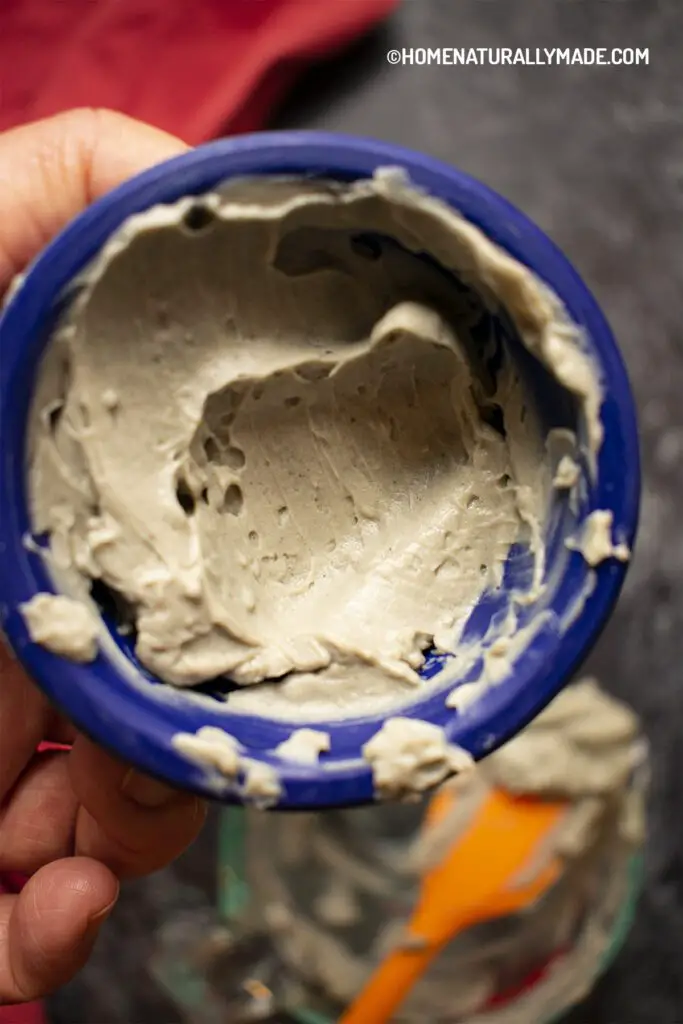
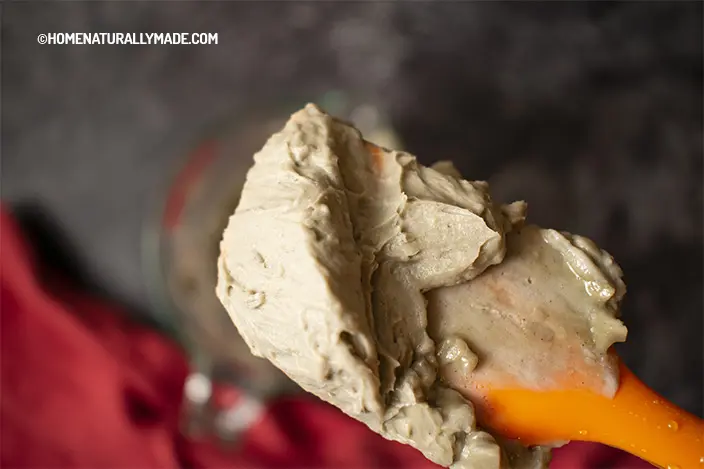
It is extremely straightforward. All you have to do is to mix the clay with milk in a tall glass measuring cup until it becomes a thick clay dough. Then add a splash of honey to make it softer.
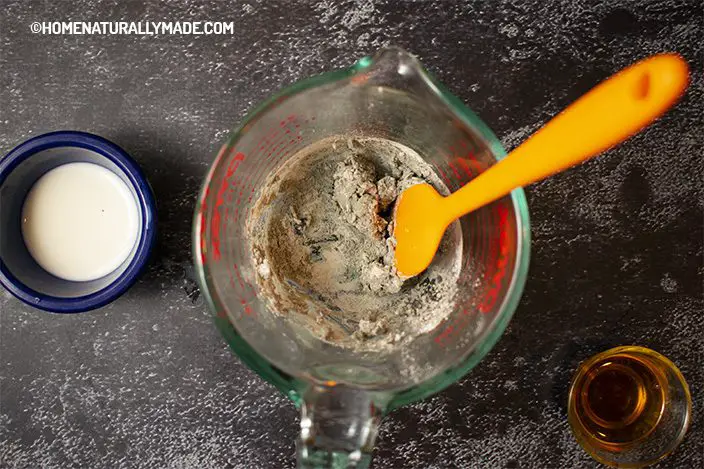
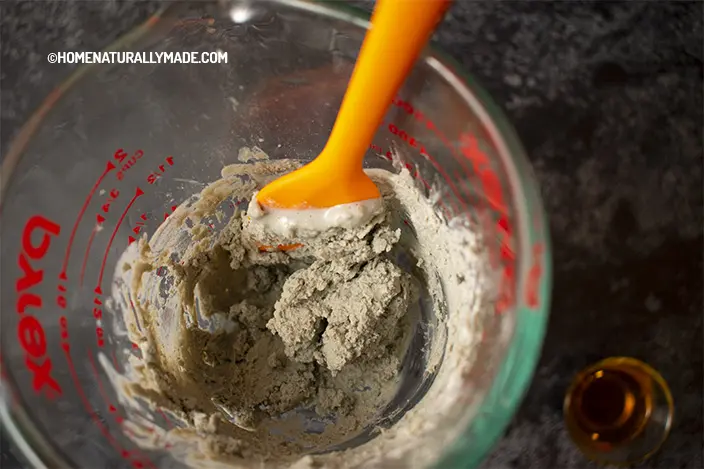
It is worth mentioning that, the clay has an amazing liquid absorption capability. It can potentially absorb twice as much liquid measured by volume. When you initially add the milk, it may seem like lots of milk, but keep folding the milk into the clay powder using a silicone spatula until you get a consistent clay dough.
Homemade Facial Lifting Mask Frequently Asked Questions:
Should I do a skin sensitivity test for this clay mask?
Sure, if you think you have sensitive skin, it is always better to be safe. Nevertheless, all ingredients are natural and mild in this facial. It only includes three ingredients – bentonite clay, milk, and honey. That’s it. Apply a tiny bit inside of your wrist first.
How often should I apply the mask?
I sometimes do it once a week, especially when you think the skin needs pampering, once a month, or in between.
How long do I leave the clay mask on my face?
In a nutshell, as long as you feel comfortable, from 15 minutes to 45 minutes or longer. When the mask gets somewhat dried, it makes it easy to roll it off from the skin. I usually remove the mask surrounding the mouth area first, as they get dried first.
Can I store the clay facial mask for future use?
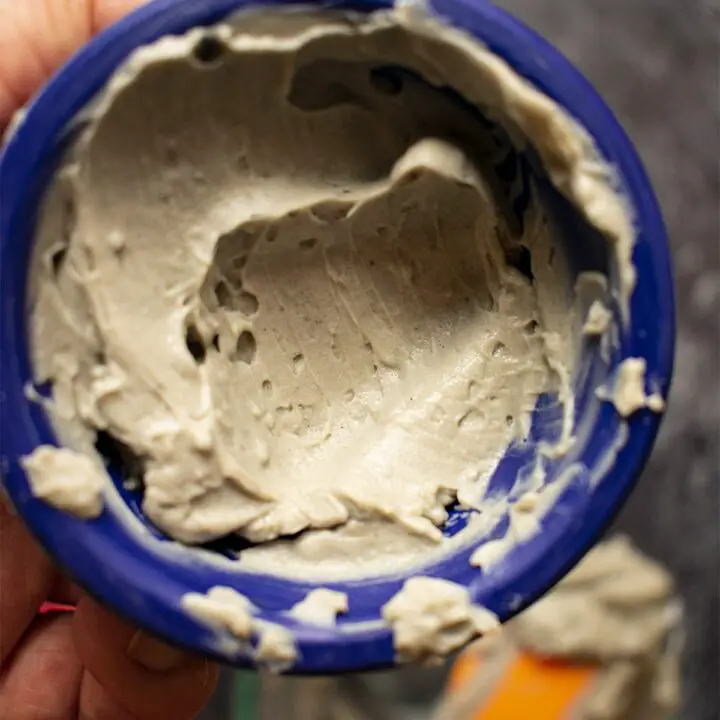
The portion of this mask is perfect for one-time use with a little bit extra for hands if you’d like that. Due to the highly perishable ingredient of milk, I highly recommend you use it right away for the best results. If you want to make it in advance, you can potentially store it in a sealed small glass jar in the refrigerator to use in the next 2 days or so.
How to make an anti-aging facial lifting mask step-by-step
Anti-aging facial lifting mask made at home using clay, milk, and honey is easy, cheap, and effective. You will be amazed!
Materials
- 12 g healing clay, about 2 tbsp
- 45 g milk, cold whole milk preferred, about 3 tbsp
- 12 g honey, organic raw unrefined preferred, about 1 tbsp
Instructions
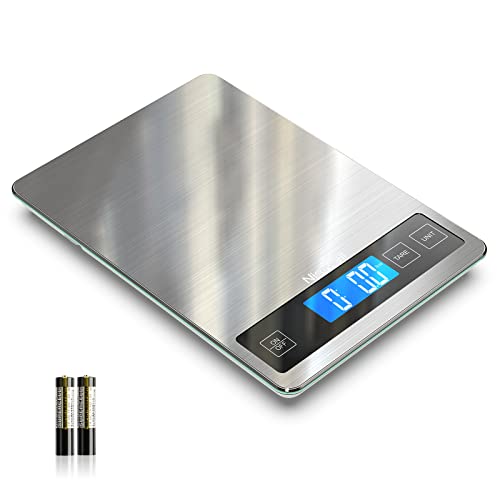
- Place the 2-cup glass measuring cup on the kitchen scale, and then add 12 g clay and 45 g milk respectively. Using the "TARE" function of the scale allows the incremental weight measurement.

- Fold the clay into the milk, and continue to mix until it turns into a thick clay dough.
- Add 12 g honey into it, and fold it into the thick clay dough until it becomes super soft. That's it. Apply immediately or store in a sealed glass bottle in the refrigerator to use in the next 2 days.
Notes
How to apply an anti-aging facial lifting mask?
- For my anti-aging facial lifting routine at home, I first wash and clean the face first using sweet almond oil and milk respectively.
- Secondly, apply the homemade gentle facial exfoliation scrub over the T-zone, especially the areas surrounding the nostrils, and gently massage in small circles using wet fingers. Use a beauty removal tool's loop end to gently push out the blackheads/whiteheads.
- Apply the anti-aging facial mask generously over the face, and avoid the areas surrounding the eyes. Apply extra layers around the mouth area including the smile line area.
- Leave it on for as long as you feel comfortable, between 10 minutes to half an hour, or longer. When the clay somewhat dries, it makes it easier to remove from the face. I usually remove the mask around the mouth area first, as they usually get dried first.
How often should I apply the facial mask?
- I usually do it once a week, especially when I feel the skin is somewhat dry and needs rehydration. Sometimes, I do it once a month.
Recommended Products
As an Amazon Associate, I earn a small amount of commission from the qualifying purchases.