
Table of Contents
Homemade Pie Crust using simple ingredients is easy, yummy, and versatile. Perfect for a fruit pie, savory pie, or flaky pastry. This is my proven & tested best homemade pie crust. Being a huge fan of a good fruit pie, I am determined to develop a tasty, healthy, and nutritious pie crust that is also easy to make at home. I am so glad I finally have it after numerous experiments.
I am going to show you how to make the best homemade pie crust easy, yummy and healthy at home. Plus how to weave a lattice pattern for pie crust.
How to make the best pie crust from scratch?
In regards to the ingredients, all-purpose flour (organic unbleached is recommended), butter, a splash of whole milk powder, a pinch of salt, and some iced water are all you need. The rest is a straightforward technique. As long as you master these easy tips and tricks, you can make a flaky, buttery tasty pie crust anytime you want.
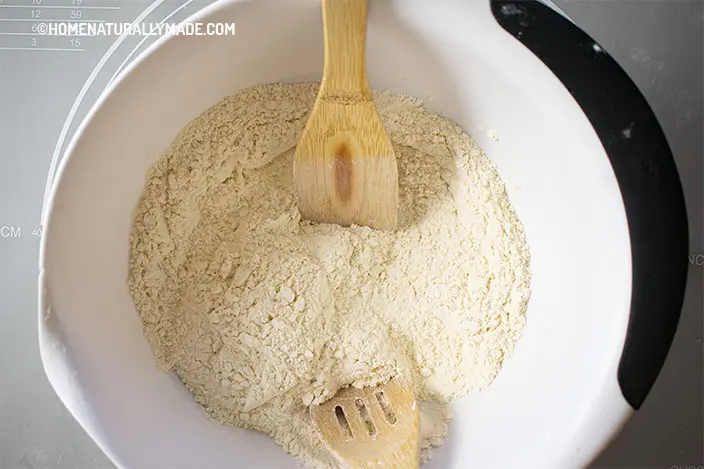
Tip No.1 is to mix flour, milk powder, and salt well
Measure and add the flour, milk powder and salt to a large mixing bowl. Mix well using a pair of bamboo spatulas.
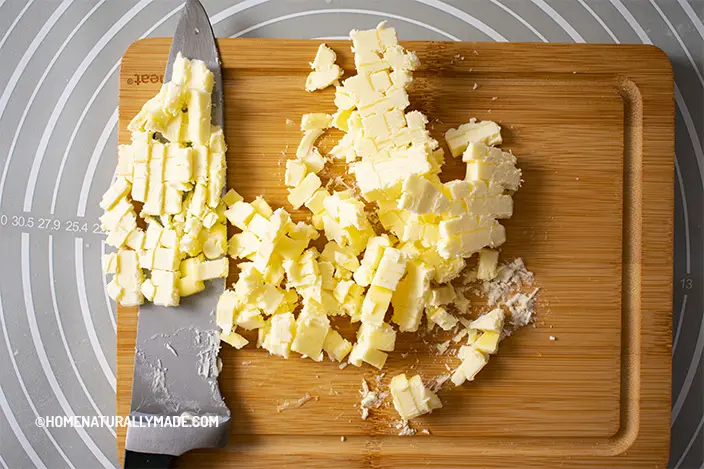
Tip No.2 and the crucial one is to cut ice-cold butter into small pea size pieces
Leave the butter in the fridge until you are ready to cut it. For a bar of butter, I usually first cut along the length into 4 equal portions. Then stack the four layers and flip 90 degrees and cut along the length again into 4 equal portions.
Now you have 16 small columns. Start from one end of the column and cut it into pea-size pieces.
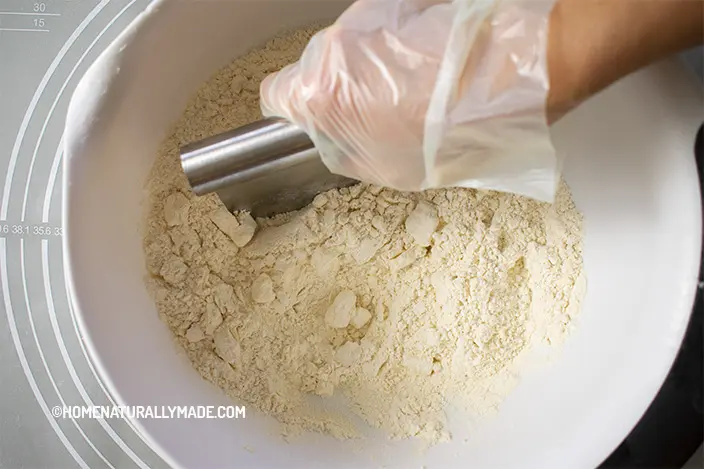
Tip No.3 is to quickly make dough without over-working the butter and the dough
Add the butter pieces into the mixing bowl, and toss using a pair of bamboo spatulas to blend. Then use a dough cutter to further cut it into smaller pieces if needed.
The secret to a flaky tasty pie crust is to have the butter remains in a solid state in the dough. This way, during the cooking, the heat will melt the butter which leaves yummy pockets all over the homemade pie crust. That is the reason why we use ice-cold water to mix the dough to help maintain the butter in solids.
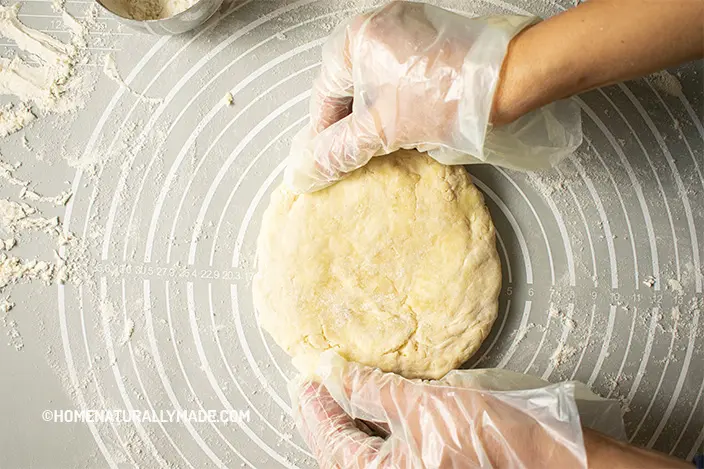
By the way, I highly recommend using these food prep gloves to mix the dough for multiple benefits. For one, to avoid the warmth from your hands to melt the butter. Also, these gloves are roomy which makes them easier to put on and take off. They are also compostable and thus environmentally friendly.
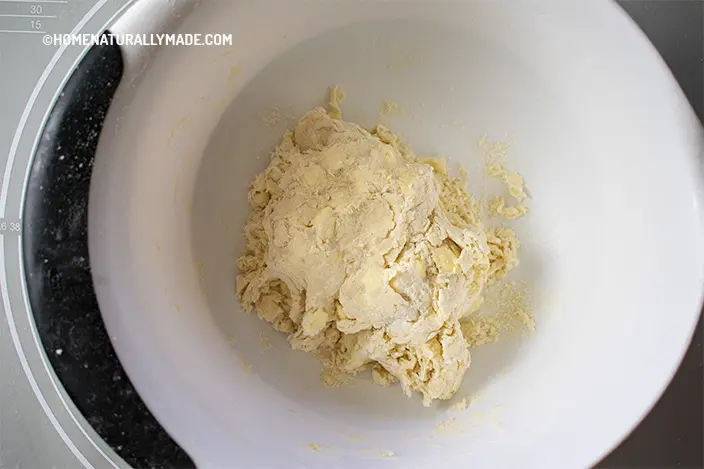
Add just enough iced water to a point you can use your hands to mix, knead and press the whole mixture into a rough dough. You don’t have to press really hard. If they are still too dry to form a dough, simply add a bit more iced water and gently press and knead the dough together. You shall still see bits of butter in the dough, which is exactly what we wanted.
Tip No.4 is to let the dough rest for 30 minutes in the fridge
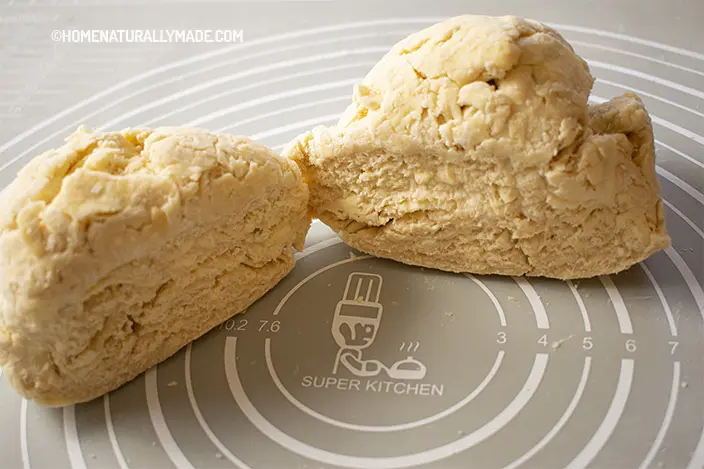
Cut the dough into two portions, about 40% and 60% ratio for the pie crust top and bottom respectively. The bottom one uses slightly more dough.
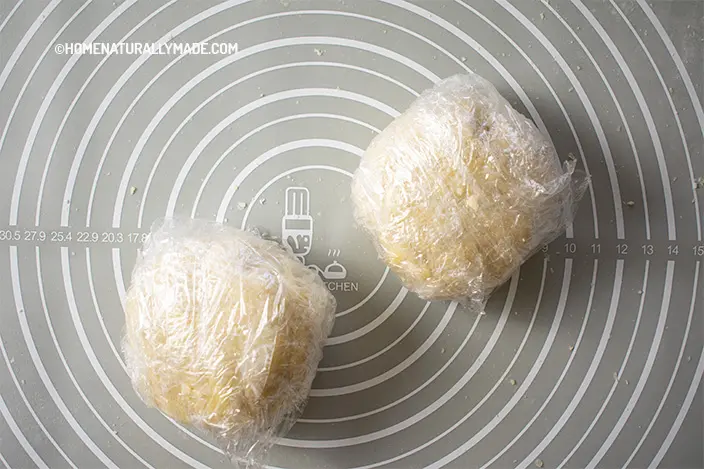
Gently press & knead each portion of the dough into a round disk, wrap it with the food service film and store them in the refrigerator for 30 minutes to rest and chill.
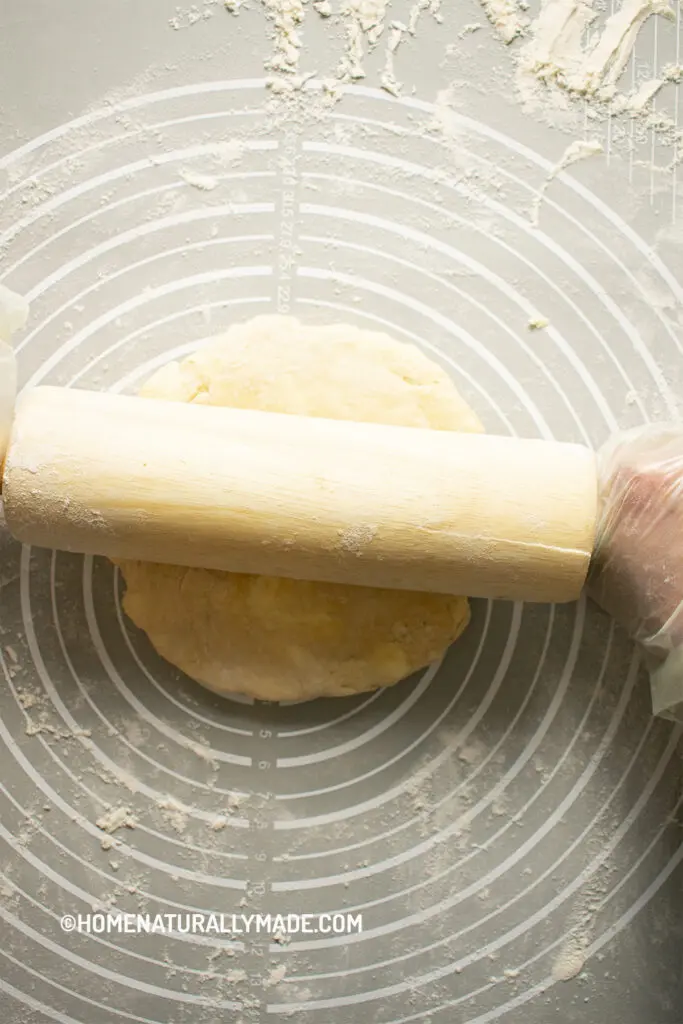
Tip No.5 is to use generous flour to coat the dough and rolling pin when rolling out the homemade pie crust
This is because when you roll the dough, the butter will get squeezed and exposed, and the flour coating helps keep the dough in place. It is super helpful to roll the pie crust on a large dough mat, which prevents the dough from sticking to the surface.
When you have applied sufficient flour and roll the pie crust out on the dough mat, it won’t be an issue to pick it up after it is done.
Last but not least is to fix the edge along the way of rolling
As you roll out the dough, naturally the edge may fall apart. Do not worry, just use a tiny bit of iced water to press them together to smooth out the edge. Make sure you constantly check the edge and the shape during the rolling process.
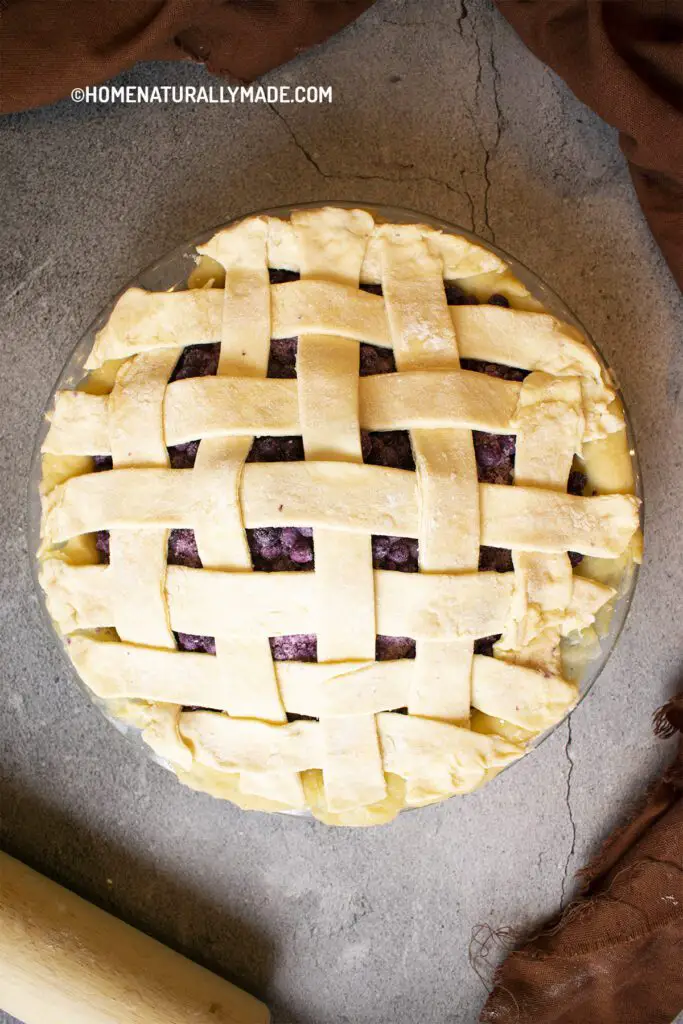
How to do an easy lattice pattern pie crust?
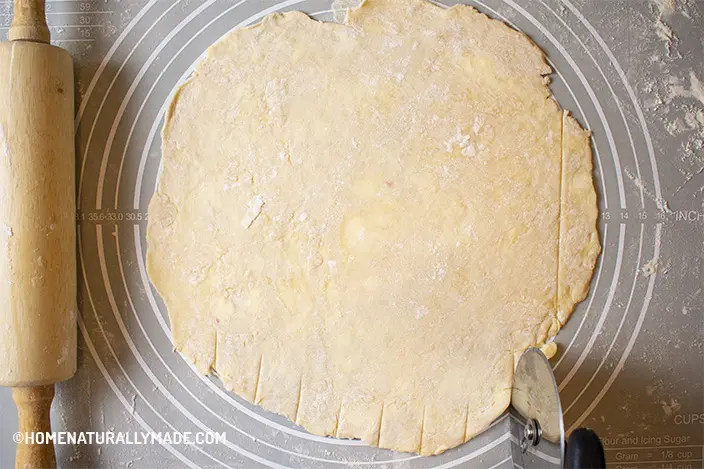
It is easier than you thought to make a lattice pattern for the pie crust. Once you have rolled out the round dough, cut it vertically into 1-inch wide minimum strips. A pizza cutter wheel is very helpful to make this process easier. I usually eyeball the round dough sheet and make a mark on the edge first before cutting it. It helps me visualize and plan the cut better.
By the way, I do not recommend cutting into thinner than 1-inch. It just takes longer to weave the lattice. Most importantly, somewhat it doesn’t look as good as a wider lattice for pie.
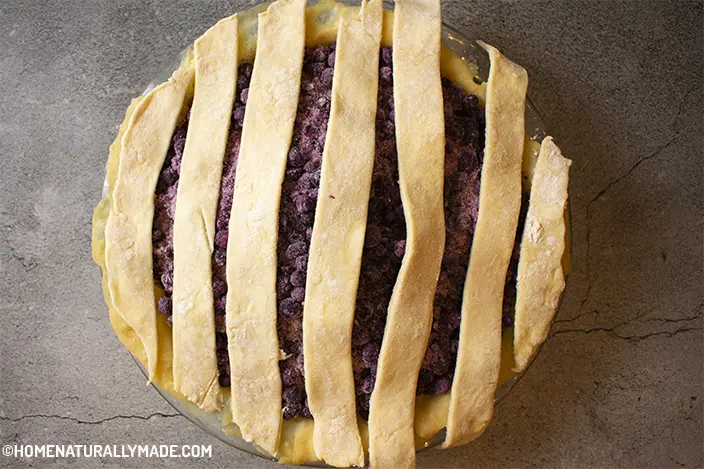
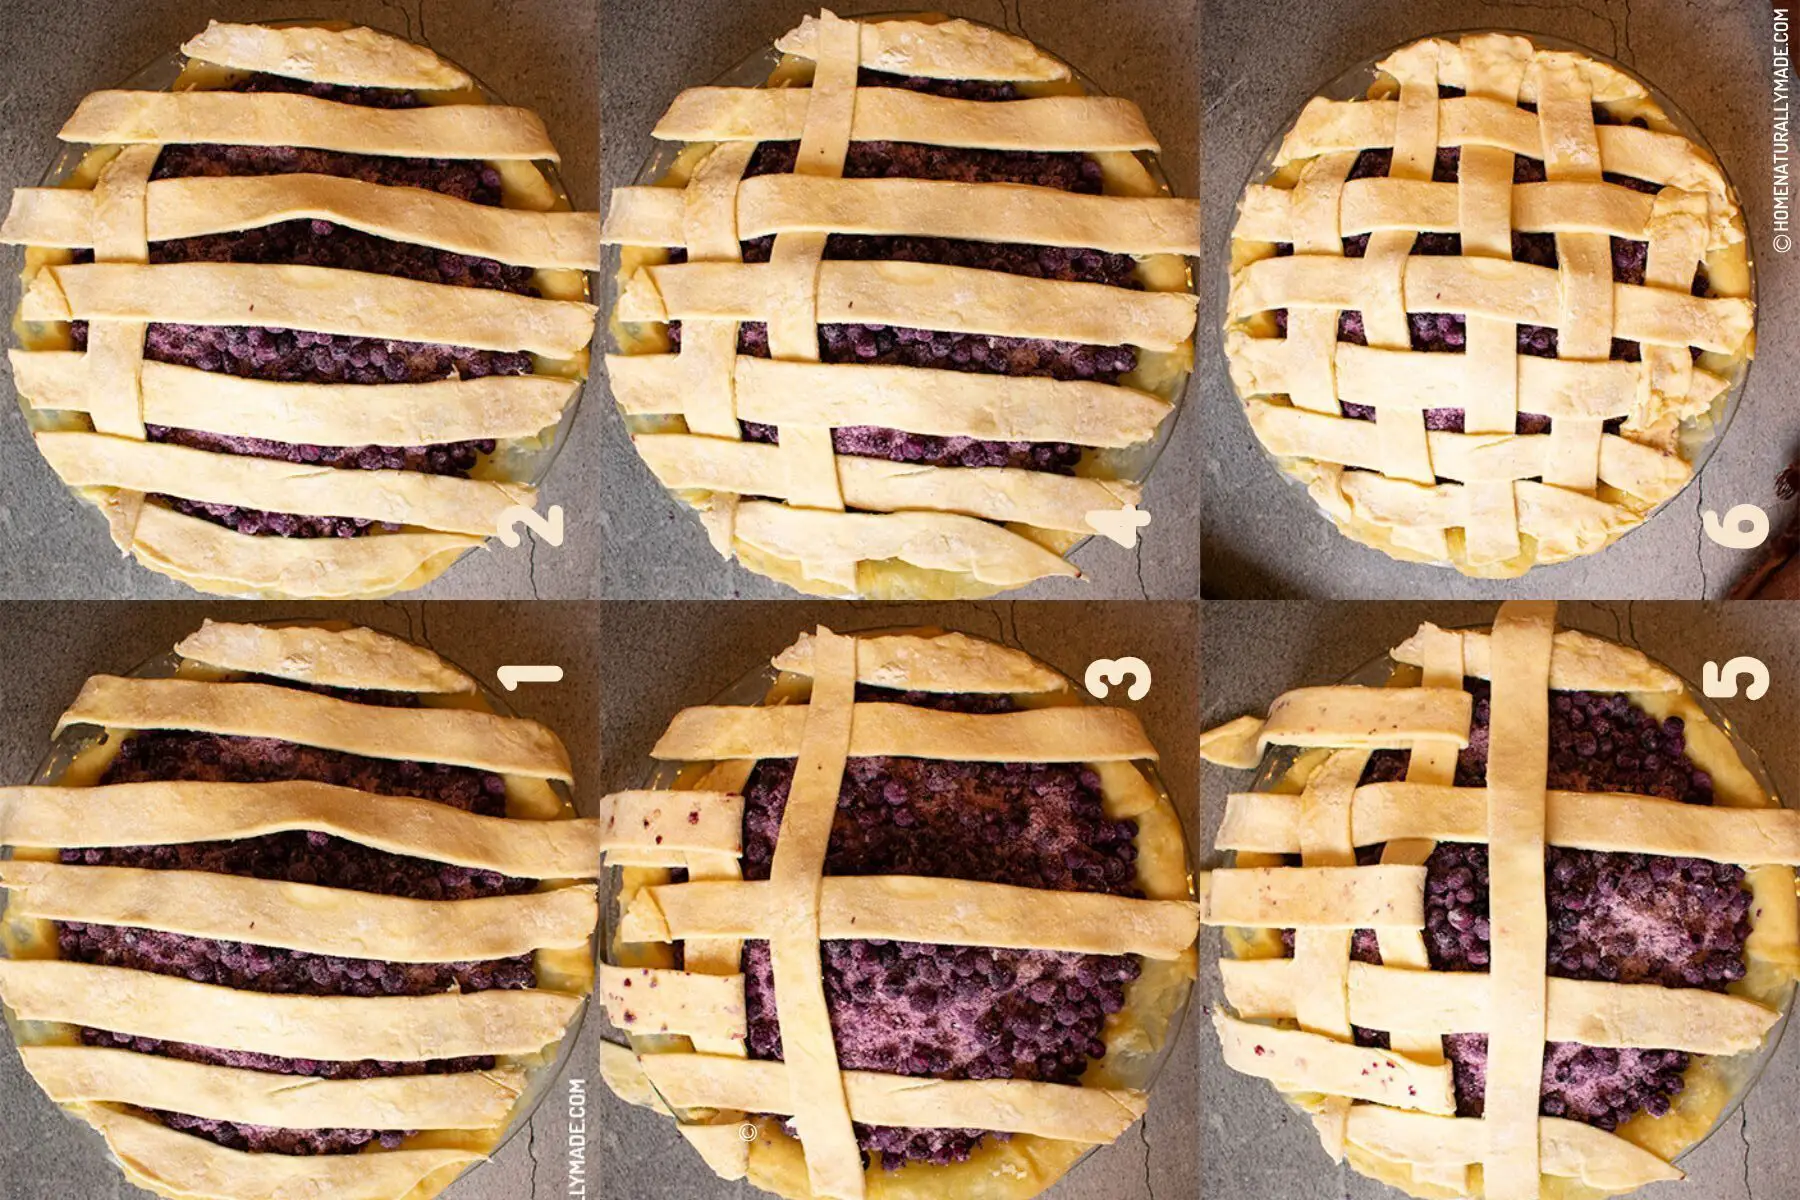
After you have the dough strips, lay them across over the pie starting from one end with about a 1-inch space in between. I usually do it vertically first. Technically it is preferred you pick up every other strips to match the length.
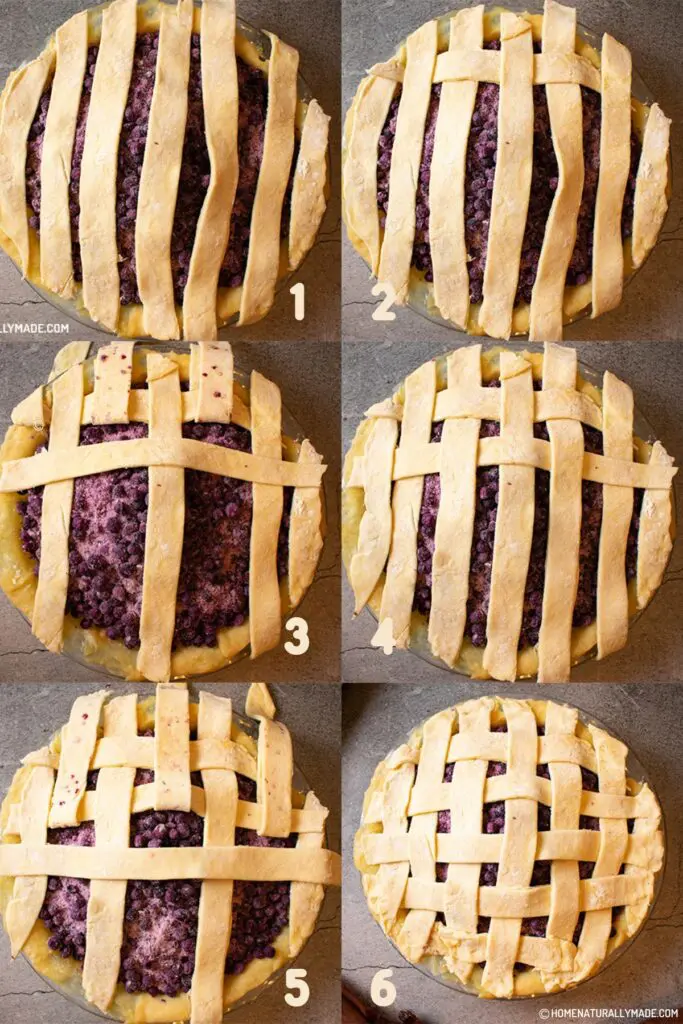
Now it is time to weave. Starting from the top edge of the pie, roll every other strip out of the way starting from the very left end of tthe strip to leave room to insert a horizontal strip, and then put down the strips. Next is to repeat but start from the second to the left end strip. So on and forth until you have inserted all the horizontal strips.
Two tips to share on how to weave a lattice pie crust pattern:
Firstly, remember to leave a one-inch space between dough strips when laying down the dough strip.
Secondly, alternate forward and back sequentially for the dough strips. This way they form an interlocked pattern.
Last but not least tip is to trim some long strips to use on the edge of the pie to cover the whole pie.
Best Homemade Pie Crust Recipe {Easy, Yummy and Healthy}
The best homemade pie crust, proven and tested numerous times, is flaky, yummy and easy to make. Perfect for a fruit pie, savory pie, or flaky pastry.
Ingredients
- 315 g all-purpose flour, plus an additional 35 g for coating while rolling out the pie crust, organic unbleached preferred
- 1 bar of unsalted butter, or about 108 g, organic preferred
- 15 g whole milk powder
- 3/4 tsp salt, such as Himalayan pink salt
- 145 g -155 g iced water, a little less than 3/4 cup
Instructions
Prepare the Pie Crust Dough:
- Measure and add the flour, milk powder and salt to a large mixing bowl. Mix well using a pair of bamboo spatulas.

- Leave the butter in the fridge until you are ready to cut it. For a bar of butter, I usually first cut along the length into 4 equal portions. Then stack the four layers and flip 90 degrees and cut along the length again into 4 equal portions. Now you have 16 small columns. Start from one end of the column and cut it into pea-size pieces.
- Add the butter pieces into the mixing bowl, and toss using a pair of bamboo spatulas to blend. Then use a dough cutter to further cut it into smaller pieces if needed.
- Add just enough iced water to a point you can use your hands to mix, knead and press the whole mixture into a rough dough. You don’t have to press really hard. If they are still too dry to form a dough, simply add a bit more iced water and gently press and knead the dough together. You shall still see bits of butter in the dough, which is exactly what we wanted.
- Cut the dough into two portions, about 40% and 60% ratio for the pie crust top and bottom respectively. The bottom one uses slightly more dough.
- Gently press & knead each portion of the dough into a round disk, wrap it with the food service film and store them in the refrigerator for 30 minutes to rest and chill.
Roll Out the Pie Crust Bottom:
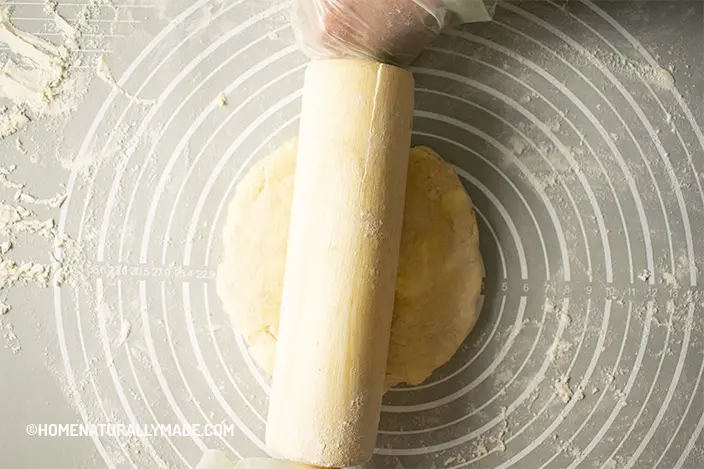
- Take out the slightly larger portion, and sprinkle the flour generously on the dough mat and all around the rolling pin. Organize the dough into a round disk and start to roll it out using the rolling pin.
- As you roll out the dough, naturally the edge may fall apart. Do not worry, just use a tiny bit of iced water to press them together to smooth out the edge. Make sure you constantly check the edge and the shape during the rolling process.
- Continue to roll in different directions to ensure a round shape, and make sure to roll more in the center so that the center is slightly thinner than the edge until you have a round soft dough crust.
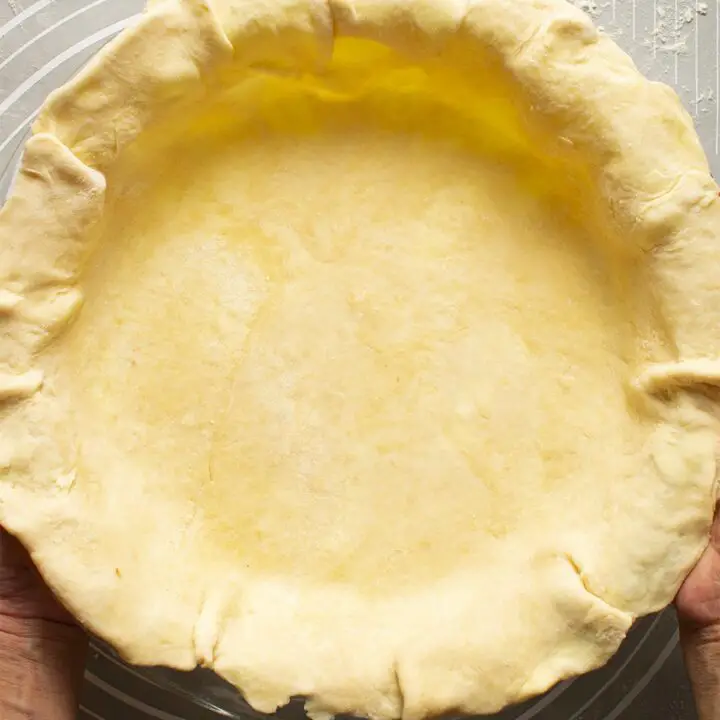
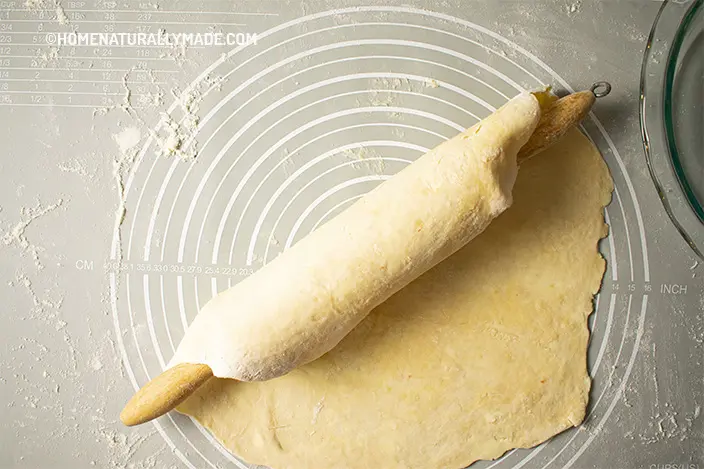
- You should be able to pick up the dough sheet fairly easily if you used sufficient flour and rolled the dough sheet on a dough mat. If not, you can use the rolling pin to roll the dough back on the rolling pin and then reverse once you have positioned and placed the roll over the glass pie baking dish.
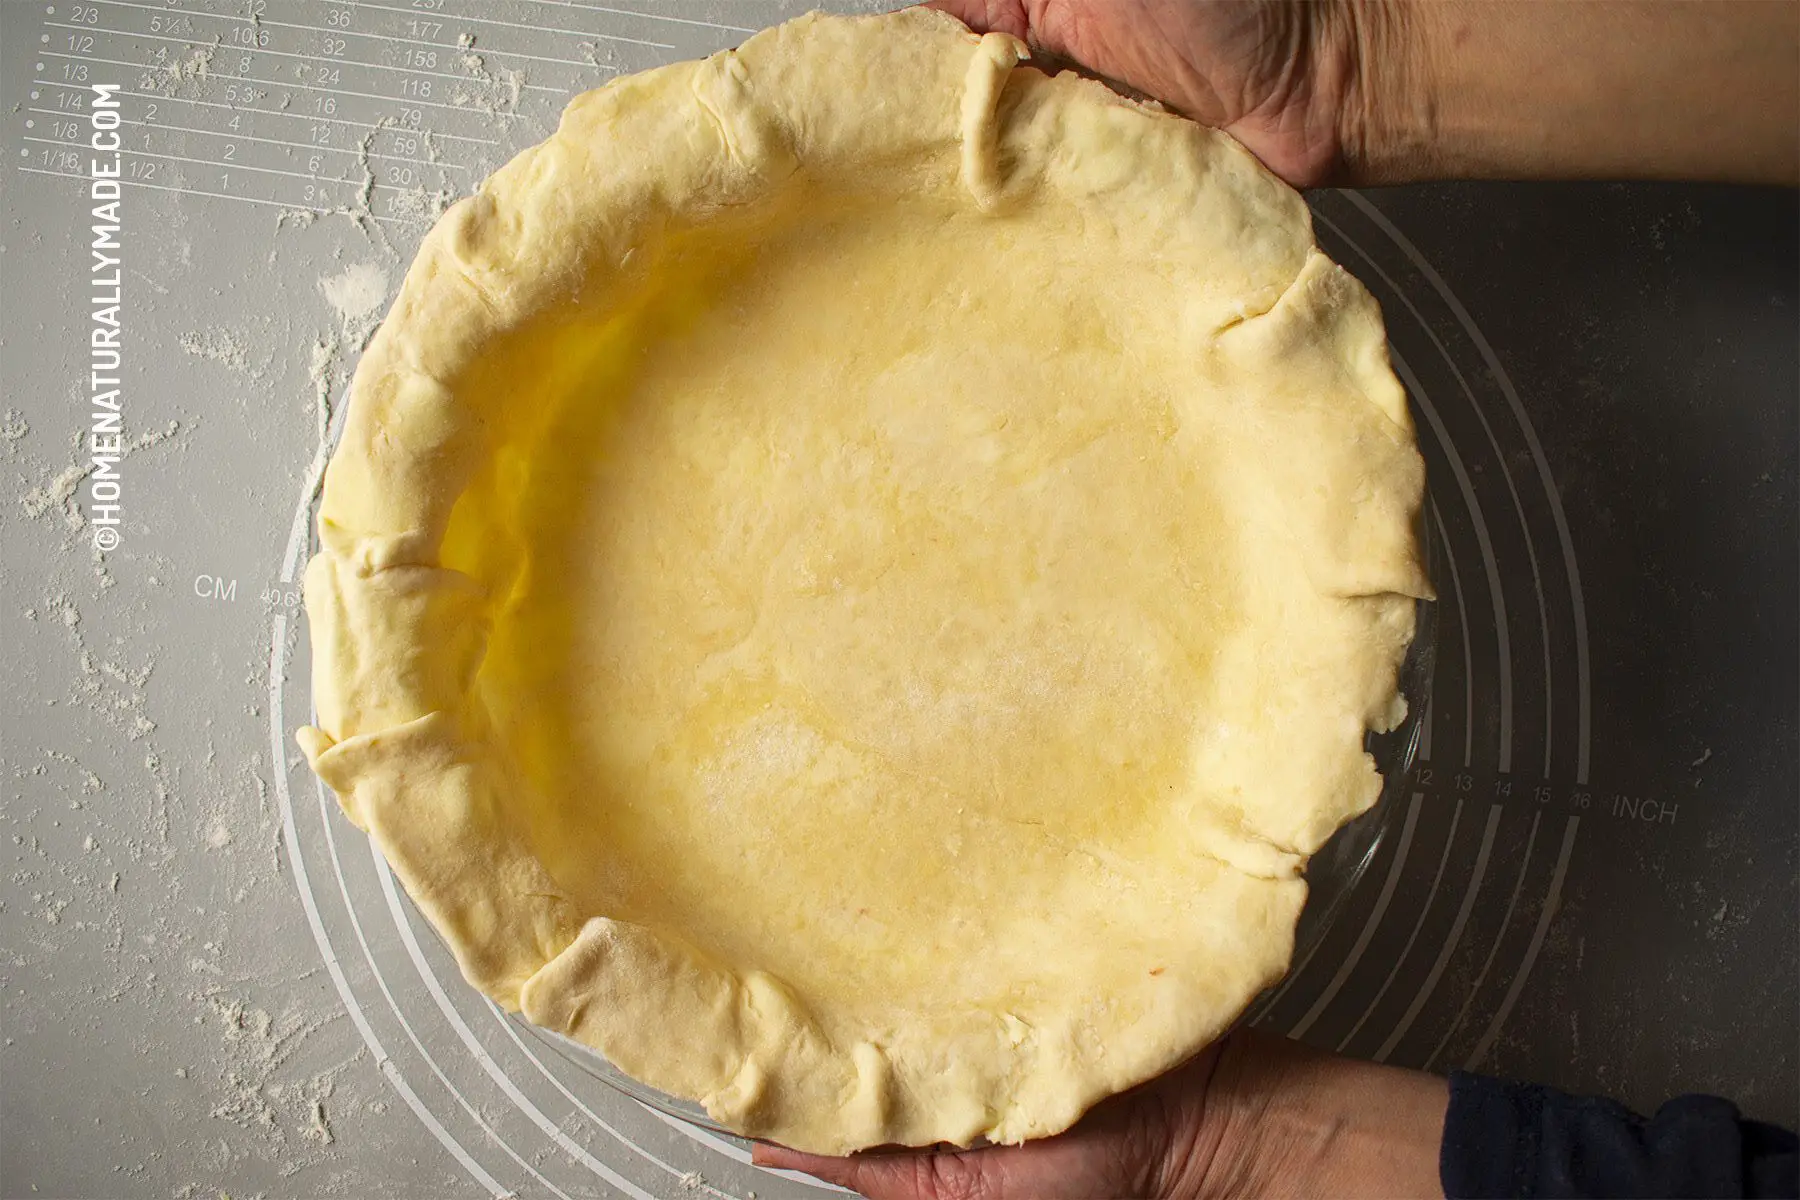
- Position the round sheet in the center and gently press down, pleat the edge in selected symmetric positions.


Roll Out and Prepare the Pie Crust Top:
- If you just want a plain pie crust top, you can use the same method to roll out the pie crust top and cover it over the pie. Gently press the edge and remember to cut in the center to let the steam out during the baking.
- I usually do lattice pie crust top. See below for how to make an easy lattice pattern.
How to Make an Easy Lattice Pattern Pie Crust Top?
- Once you have rolled out the round dough, cut it vertically into 1-inch wide minimum strips. A pizza cutter wheel is very helpful to make this process easier. I usually eyeball the round dough sheet and make a mark on the edge first before cutting it. It helps me visualize and plan the cut better.
- After you have the dough strips, lay them across over the pie starting from one end with about a 1-inch space in between. I usually do it vertically first. Technically it is preferred you pick up every other strip to match the length.
- Now it is time to weave. Starting from the top edge of the pie, roll every other strip out of the way starting from the very left end of the strip to leave room to insert a horizontal strip, and then put down the strips. Next is to repeat but start from the second to the left end strip. So on and forth until you have inserted all the horizontal strips.
Notes
- Three tips to keep in mind when weaving the lattice pie crust pattern - First, remember to leave a one-inch space between dough strips when laying down the dough strip. Second, alternate forward and back sequentially for the dough strips. This way they form an interlocked pattern. Last but not least, is to trim some long strips to use on the edge of the pie to cover the whole pie.
Recommended Products
As an Amazon Associate, I earn a small amount of commission from the qualifying purchases.
-
 Organic Unbleached All Purpose Flour
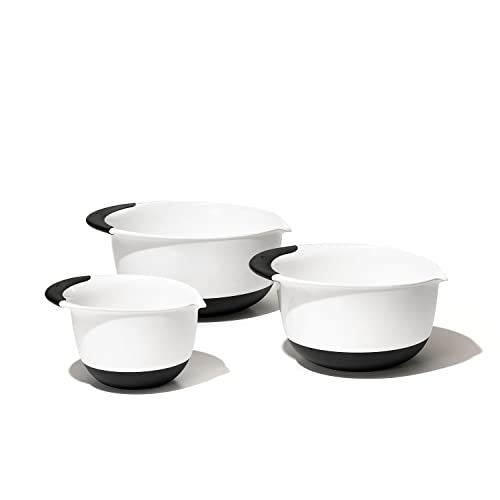
 - OXO Good Grips 3- Piece Mixing Bowl Set
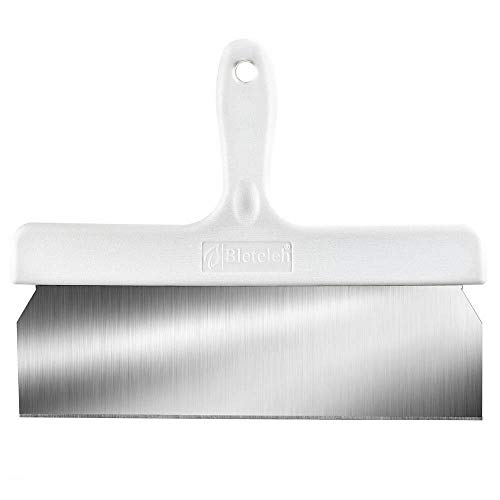
- 12-inch Dough Cutter/Bench Scraper, Heavy Duty
- Non-slip Silicone Dough Mat Extra Large
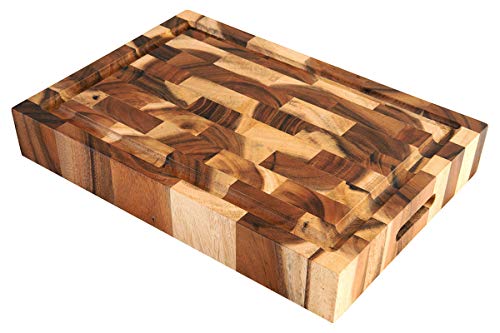
- 2.5 inch thick Acacia Large Wood Cutting Board
- Chef Knife
- 365 by Whole Foods Market, Organic Pasture-Raised Butter, Unsalted, 16 Ounce
- Organic Himalayan Pink Salt
- Hoosier Hill Farm All American Dairy Whole Milk Powder, 6 Pound (96oz), Hormone Free & No Additives (Pack of 1)


Nutrition Information
Yield 8 Serving Size 1Amount Per Serving Calories 351Total Fat 18gSaturated Fat 10gTrans Fat 0gUnsaturated Fat 7gCholesterol 33mgSodium 371mgCarbohydrates 41gFiber 2gSugar 1gProtein 5g
Nutrition calculation is provided by Nutritionix to the best knowledge per ingredients description and isn't always accurate.